
Garage door springs offset the weight of the door and allow it to open and close with ease. A problem with the spring tension could cause the door to open or close unevenly, improperly, or at the wrong speed, and adjusting the springs will likely solve the problem.
1. Preparing for Your Adjustment
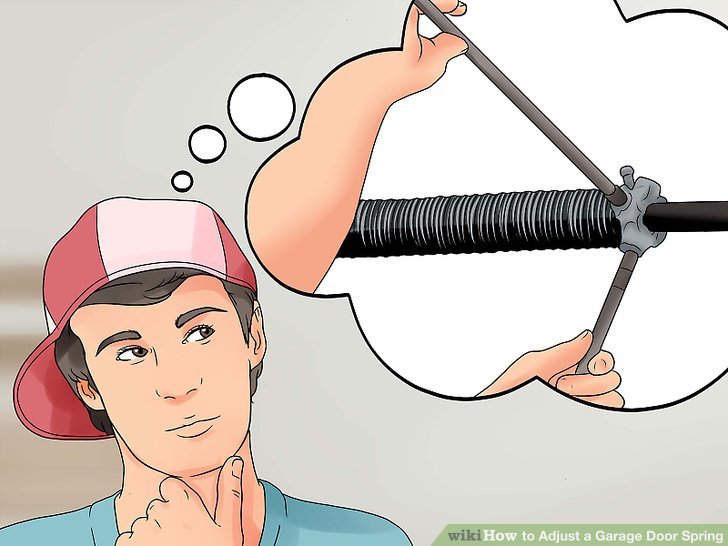
1.1 Recognize torsion springs.
Torsion springs are mounted above the door and will run along a metal shaft that’s parallel with the top of the door. This type of mechanism is usually used for doors that are over 10 feet wide.
Lighter and smaller doors may only have a single torsion spring, while larger and heavier doors may have two springs, with one located on either side of the central plate.

1.2 Understand the problem.
Improper spring tension can cause many problems with how your garage door opens and closes. The problem you’re having will help you figure out how you need to adjust the spring to fix the door. Doors that need spring adjustments may:
1.2.1 Be difficult to open or close
1.2.2 Open or close too quickly
1.2.3 Not close fully or properly
1.2.4 Close unevenly and leave a gap.

1.3 Determine your solution.
Depending on your problem, you will either need to increase or decrease the spring tension on the door. You will need to:
1.3.1 Decrease the tension if your door isn’t closing fully, is difficult to close, or opens too quickly.
1.3.2 Increase the tension if the door is difficult to open or closes too quickly.
1.3.3 Adjust the tension on one side (where the gap is) if your door is closing evenly.
1.4 Assemble your tools.
There are some basic tools and safety equipment you’ll need for this job. Your safety equipment includes gloves, safety glasses, and a hard hat. Your other tools are a sturdy ladder, a C-clamp, an adjustable wrench, and a marker or masking tape. If you are going to be adjusting torsion springs, you will also need two winding bars or solid steel rods.
1.4.1 The rods or bars should be 18 to 24 inches (45.7 to 61 cm) in length.
1.4.2 Solid steel bars can be purchased at hardware stores.
1.4.3 You will need to measure the diameter of the holes in the winding cone (the collar that secures the spring to the metal shaft) to determine what size bar or rod to use. Most cones have a hole diameter of 1/2 inch.
1.4.4 Do not attempt to use any sort of tool as a substitute for the winding bars or steel rods.

2. Adjusting Torsion Springs
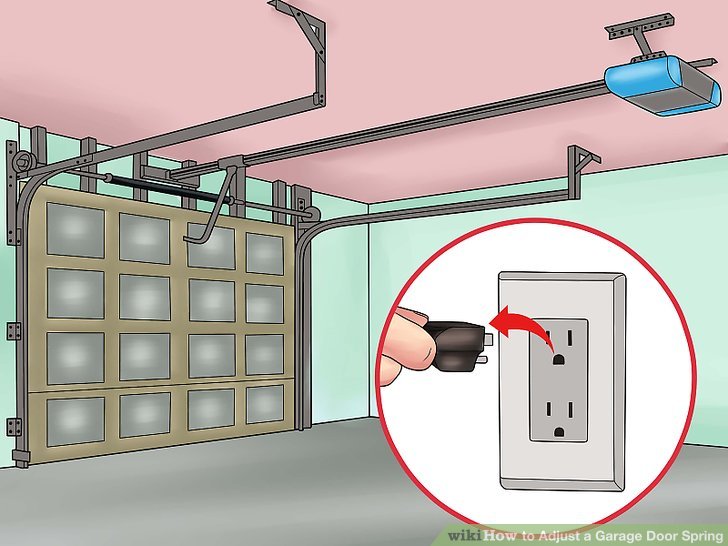
2.1 Close the garage door.
Unplug the opener if you have an automatic garage door. Note that because the garage door will be down, this will mean:
2.1.1 The springs will be under tension, which increases the risk of injury. Call a professional if you don’t feel confident dealing with a spring under this much tension.
2.1.2 You should have sufficient lighting in the garage to work comfortably.
2.1.3 You will need an alternate way out if anything should happen.
2.1.4 All your tools need to be inside the garage with you when you begin.
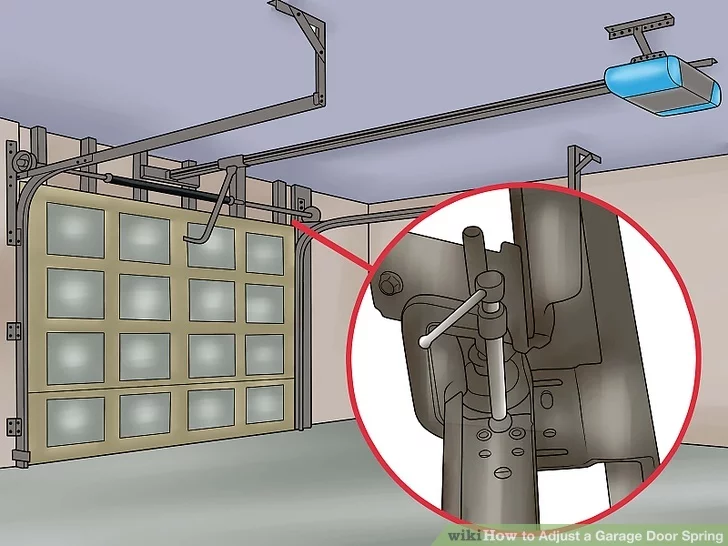
2.2 Secure the door.
Place a C-clamp or a pair of locking pliers on the track of the garage door just above the bottom roller. This will prevent the door from popping open when you’re adjusting the tension.
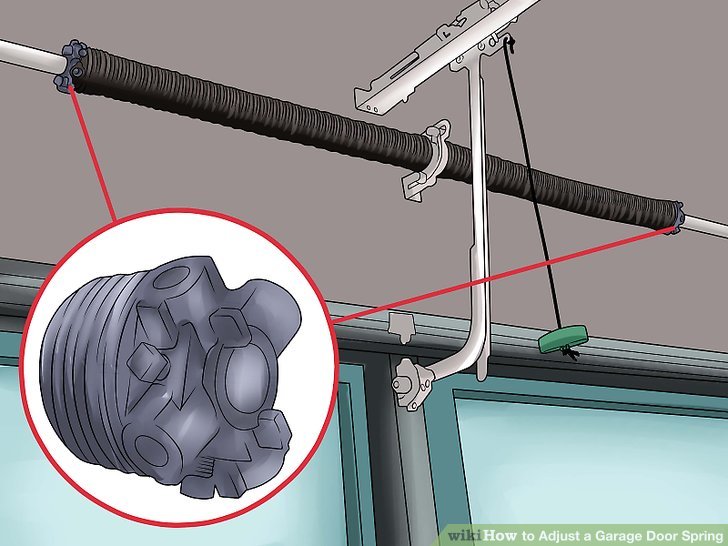
2.3 Locate the winding cone.
From the stationary center plate, use your eye to follow the spring out to where it ends. At the end, there will be a winding cone keeping it in place. The cone will have four holes evenly spaced around it, plus two set screws that are used to lock the spring in place on the center shaft.
To alter the tension on the spring, you will be adjusting the winding cone by inserting the winding bars into the holes and rotating the cone in one direction or the other.
2.4 Loosen the set screws.
Insert the winding cone or solid steel rod into the bottom hole on the winding collar. Hold the cone in place with the bar and loosen the screws.
Check the shaft to see if there are any flattened or depressed areas where the screws are meant to be set. If so, make sure you replace the screws in these same flats when you are finished with your adjustment to ensure they hold more securely.

2.5 Prepare to adjust the tension.
Insert the bars into two successive holes in the winding cone. Position yourself to the side of the bars so that your head and body are not in the way if the spring breaks. Always be ready to move quickly.

2.6 Adjust the tension.
Make sure the bars are fully inserted, and manually rotate the cone in 1/4 increments. To determine a 1/4 turn, rotate the winding bars 90 degrees.
2.6.1 To increase tension for a door that’s difficult to open or closes too quickly, wind the cone up (in the same direction as the garage door cable goes through the pulley).
2.6.2 To decrease tension for a door that isn’t closing fully, is difficult to close, or opens too quickly, wind the cone down (in the opposite direction from how the garage door cable passes through the pulley).
2.6.3 Unless you know exactly how much you need to adjust your door, go through all the steps and test the door. Repeat as necessary, working in 1/4 turns, until you achieve the proper tension.

2.7 Stretch the spring.
Keep the bottom-most winding bar in place and remove the second bar. Measure out 1/4 inch from the end of the winding cone (away from the center) and make a mark with a marker or piece of masking tape. With the bar still in the bottom hole, pull slightly up (toward the ceiling) on the bar and toward the center plate. As you do this:
2.7.1 Continue holding the bar up and over and tap on it with the second bar. Tap it just below the winding cone. Tap it away from the center plate and toward the mark on the shaft.
2.7.2 Tap the bar until you have stretched the spring to meet the mark on the shaft.

2.8 Tighten the set screws.
Once you have stretched the spring out 1/4 inch, hold it in place with the one bar and lock it in place on the shaft by tightening the set screws.
Make sure you replace the screws into their flats if there were any on the shaft.

2.9 Repeat on the other side.
Some torsion spring mechanisms have two springs (one on either side of the center plate), and if this is the case, repeat steps four to eight on the other spring. Torsion springs must be adjusted equally to ensure balance.

3. Test your door.
Remove any clamps or pliers that are securing the door and test the door to see if you have adjusted the tension enough. If not, repeat steps four to ten until you have found the right tension to correct the problem you were having.
Once your adjustments have been made, plug your opener back in if you have an automatic garage door.

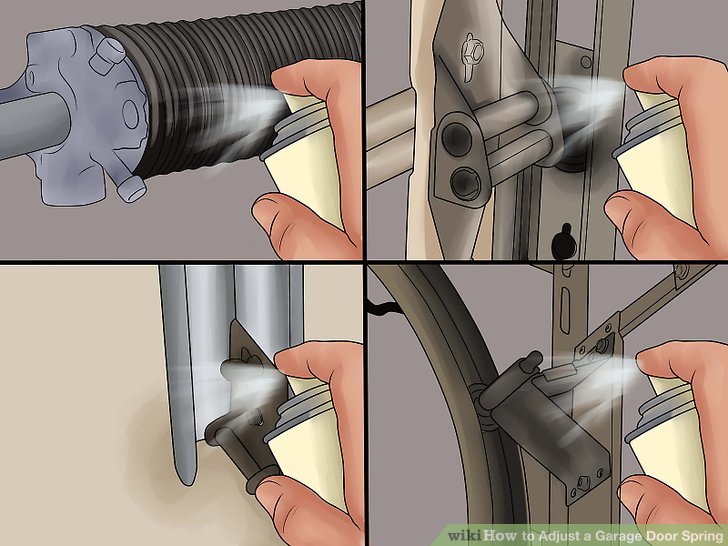
4. Lubricate the springs.
You should lubricate all springs, hinges, bearings, and metal rollers twice a year with a lithium- or silicone-based spray. Don’t use WD-40.
Post time: Jan-10-2018